Opengl Error 1286 in Minecraft? Fix it Here
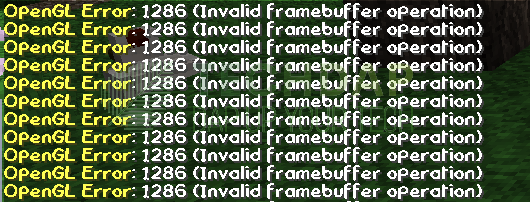
Minecraft has been one of the few games that have managed to retain their initial popularity throughout almost a decade of its existence and continues to shine. However, a lot of users have experienced Opengl Errors over the years and one of those seems to be the Opengl Error 1286 in Minecraft which crashes the game or glitches out the graphics.

In this detailed guide, not only have we narrowed down how to fix the “OpenGL Error 1286: Invalid Frame Buffer” issue, we have provided detailed steps that take you through the entire process so that you don’t have to look for options yourself.
Fixing the OpenGL Error 1286 in Minecraft:
Solution 1: Reconfiguring Video Settings
- Launch into Minecraft, navigate to “Settings” and then select the “Video Settings” option.
- From here, select the “Other” option and make sure that the “Show GL Errors” button is toggled “OFF”.
Disabling the “Show GL Errors” button - Click on “Done” which will take you back to the previous screen, in this screen, select the “Shaders” button.
- Make sure that they are turned OFF to ensure that the game has enough memory to load everything up.
- Now, check and confirm that the OpenGL Error 1286 in Minecraft has been fixed.
Solution 2: Turn OFF Stencil Buffer
Sometimes, adding a single line to prevent the use of Stencil Buffer can help in fixing the OpenGL 1286 error with Minecraft. For that, load up the launcher that you use and from its settings or properties, make sure to add the following line to the JVM arguments dialogue.
-Dforge.forceNoStencil=true
If there is any previously added argument, make sure to add a space between them so that they aren’t run together.
Solution 3: Reconfigure Graphics Settings
There are certain graphics options in your settings that you can reconfigure to permanently rid yourself of the OpenGL 1286 error in Minecraft. The steps for that are listed as follows.
- Launch into Minecraft, navigate to “Settings” and select the “Video Settings” option from the list.
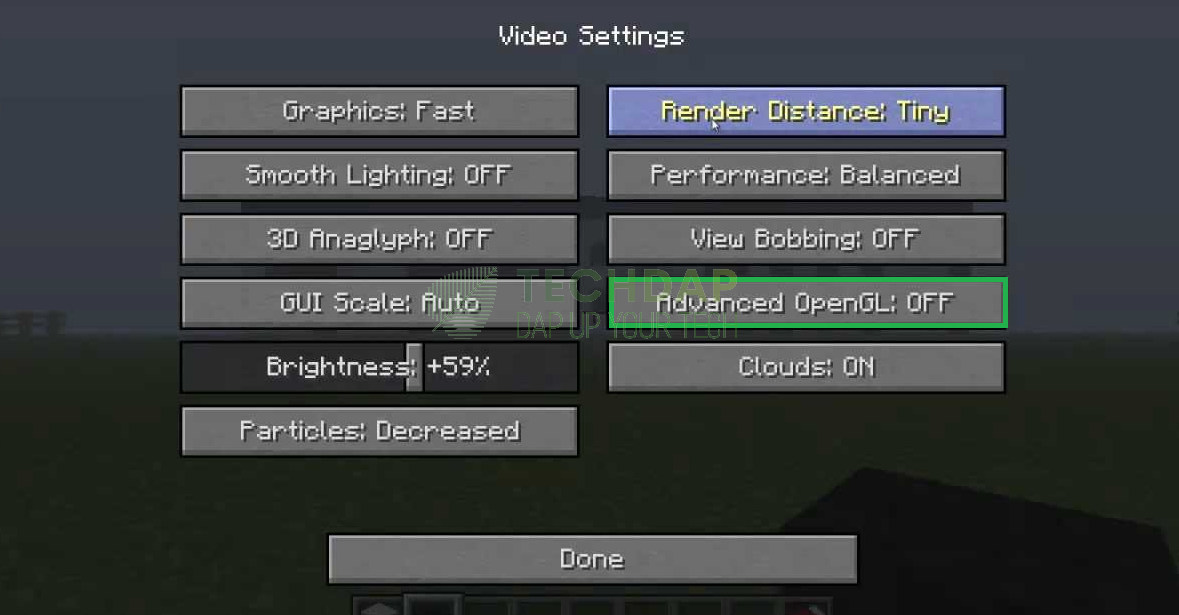
- After that, make sure to toggle the “Advanced OpenGL” Setting to “OFF”.
Setting Advanced OpenGL to “OFF” - Now, head on over to the “Use VBOs” option and toggle it to “OFF” as well.
- Also, try playing around with the “Render Region” and the “Clear Water” settings to ensure that one of those isn’t causing the issue.
- Check and verify if this fixes the error.
Solution 4: Change Launcher
This error can be caused depending upon the launcher that you are using, some Mods are known to run into issues with the Vanilla Launcher while others have issues with the Forge Launcher. However, if you are using Optifine launcher, almost all mods won’t work for you as it is hugely incompatible with modding.
Basically, the rendering issue arises when the drivers on your integrated or dedicated GPU don’t provide the proper support as they are outdated or the hardware itself has been outdated.
Solution 5: Don’t Minimize Minecraft
As simple as the title sounds, you can sometimes try to launch other applications without minimizing Minecraft and just opening the other app by double-clicking. This can prevent the rendering issues with the OpenGL Error 1286 in Minecraft as it prevents software glitches in some cases.
Solution 6: Update your Client
There have been cases where users were able to fix the OpenGL Error 1286 simply by updating the client/launcher that they use to launch or mod their game. Therefore, some users reported that they were able to fix the issue by updating their clients to the latest available version.
Solution 7: Update your GPU Drivers
Depending upon your hardware, sometimes, searching and updating your GPU Drivers might just be the fix that you are looking for. Therefore, using Geforce Experience or AMD Catalyst/Adrenaline software try to look for any driver updates for your GPU. Also, if you are using Intel Integrated graphics, you can also look for your associated driver updates in your GPU panel that you can launch by right-clicking anywhere on the desktop.
Solution 8: Download and Install the Latest JAVA Version
Sometimes, the Java software installed on your computer might have been outdated. Therefore, we suggest that you go through the following steps to install the latest version.
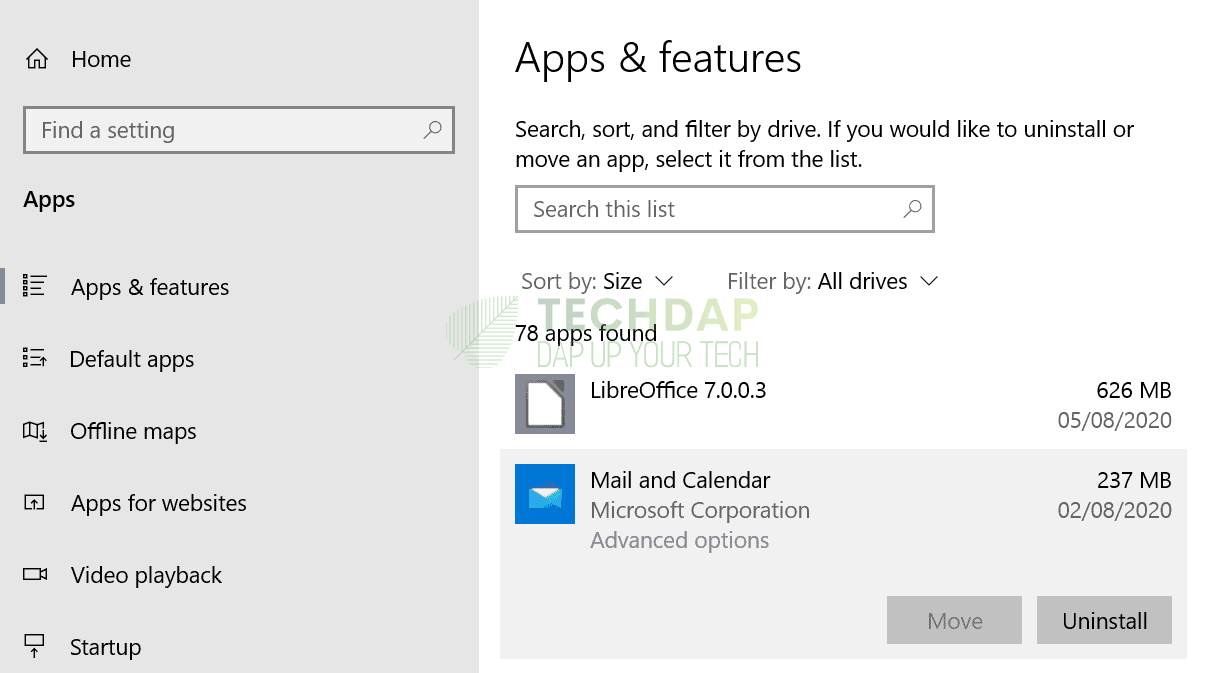
- Press “Windows + I” to launch into the settings, select the “Apps” option and then click on the “Apps & Features” button.
Clicking on the “Apps & Features” button on the left side - Now, scroll through the list of installed applications and click on the “Java” app.
- After that, make sure to select the “Uninstall” button and follow through with the on-screen steps to remove it from your computer.
- After the uninstallation, click here to download Java for Minecraft and run the executable to install it on your computer.
- When the installation process finishes, you can simply launch into the “Settings” of your launcher and give the Java Path which should be in the “Program Files > Java > JRE> Bin> JavaW.exe” folders.
- Check to see if this has fixed the OpenGL 1286 error in Minecraft.


